|
ZModeler Tutorial v2.0 |
|
ZModeler Tutorial v2.0 |
Creating the
Bottom
To create the bottom, you should be in the bottom view, and have the axis placed
at the bottom in the side view.
If your vehicle has a flat bottom,
it will be easier. However, if it has a curved bottom like the Scudo, then
you will have to move vertices to their correct positions in the side view.
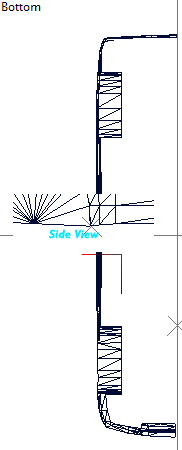
When you're modeling, you should be referring to the bottom and side view.
Because the bottom of this van is curved, and not a straight line, there will be some alignment problems.
However, to start, all we have to do is start making faces in the bottom view. It is a good idea to have "See-Through" disabled.
We'll start at the front of the van, since that is where there are many visible polygons.
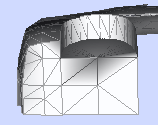
Once you have started the bottom, it
should look somewhat like this:
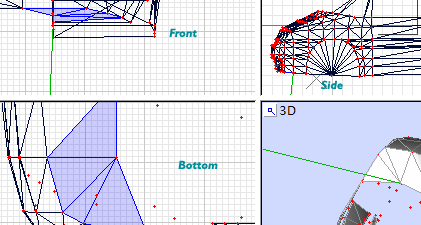
As you can see, I have aligned that vertice with the side view.
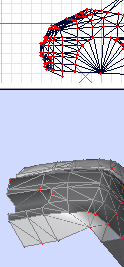
If your vertices look like this, where they are not aligned, select them in your
side view and align them to the rest of the body. -------->
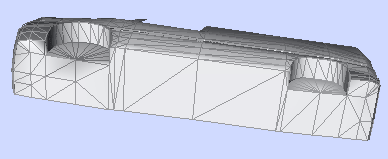
After alignment, you should end up with something like this:
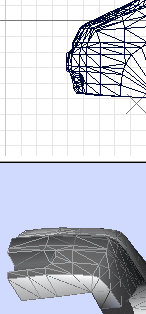
If you want to reduce the polygon
count on your vehicle, you can gradually lessen the amount of polygons you have
on the bottom.
If your normals are messed up like the picture above, you will have to Detach/UniteSelect
to achieve good normals.
Because there are some normals
problems, I will detach the bottom faces and calculate them.
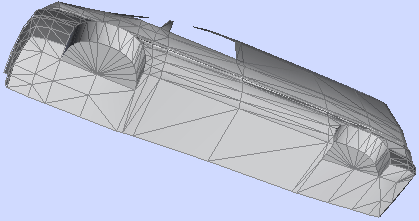
You should now have a complete half of a vehicle! If you are not planning to make an interior, fill up the window spaces with polygons.
Press the Back button on your browser to go back to the index.