|
ZModeler Tutorial v2.0 |
|
ZModeler Tutorial v2.0 |
Mirroring
To mirror your vehicle, you will probably want to have the top, side, and front
views loaded.
Now that you have this done, go to
your objects list, right click on the object name, and press Create Copy.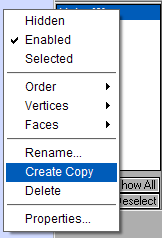
There should now be two objects listed.
The next step is to move one side over to the other side of the axis. I recommend using the top or front view for this.
With the X axis selected (or H in
ZModeler 1.05 and above) ONLY, move one side over.
Now, go to the Modify>Mirror tool and click on the side that you just moved.
Now move the mirrored side over to the position that you had it in the first place.
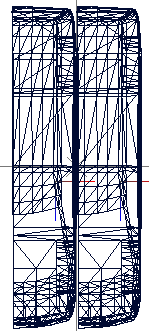
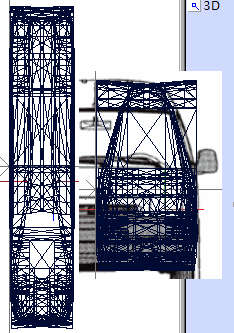
Now, if you were consulting your 3D view, you would notice that it does not appear right
To fix this, go to Modify>Reorient, and click on the part which is not right.
It should now be all correct.
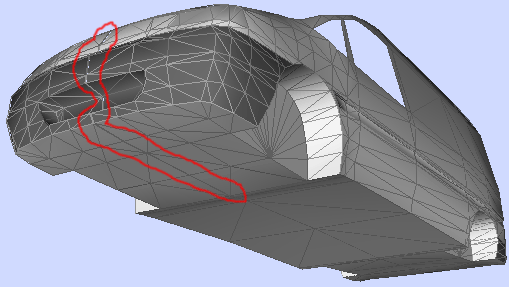
Next, you must Select>Quadr, right click and drag around the two sides, and go to Create>Objects>UniteSelect WITH THE SEL BUTTON DEPRESSED (spacebar once).
Only one object should be in your object list now.
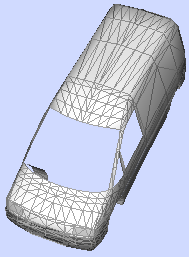
The next step is to switch into
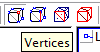 mode. I
will use the top view to demonstrate. Now, you must select TWO VERTICES AT
A TIME, as shown below:
mode. I
will use the top view to demonstrate. Now, you must select TWO VERTICES AT
A TIME, as shown below:
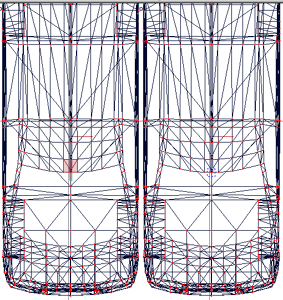
Then, with the Create>Objects>UniteSelect and the SEL button depressed, click on one of the vertices, and it should become one.
Continue this process for the rest of the car, and make SURE you are not selecting more than two on the same level, or everything will be messed up.
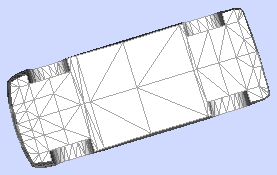
The rear and top portions with
united vertices:
The front and bottom with non-united
vertices:
Note the gaps in the model and the thicker line without united vertices.
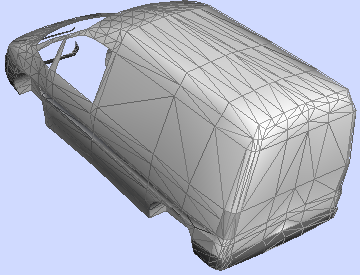
Here is a shot of the bottom and top when all uniting is completed.
Your vehicle is now complete! A brief texturing tutorial may be available soon. For now, check version one for texturing instructions.
Press the Back button on your browser to go back to the index.