 ZModeler Tutorial v2.0 |
 ZModeler Tutorial v2.0 |
Smoothing Out Your Normals
(There was a similar lesson in Refining The Model Pt.
2, but that had to do with extruding parts)
Thanks to Mr_Sparkle for showing me and others how to do this.
In most cases, you can usually just go to Surfaces>Normals>Calculate, and your normals will look pretty good. However, what if the shading makes the object look horrible?
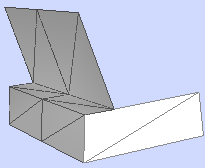
Take this figure into consideration:
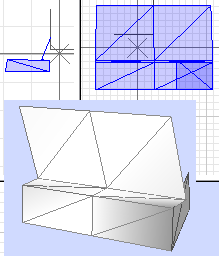
As you can see, the portion on the right of the figure has really dark shading. While this may not be the best example around, it will show you how to fix these normals.
First of all, select a set of faces
that has less-than-perfect normals. I will select the following faces
first:
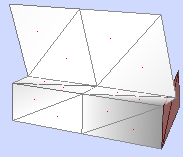
These faces seem to be creating the majority of the problems with the normals,
as you can see. They are making the other faces darker.
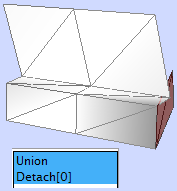
The next step is to go to Create>Objects>Detach. It will now become
another object in the Object List. The model with the detached faces
should now look like this:
Now go to Surfaces>Normals>Calculate
and double click on each of the objects. You may have to deselect
the red faces in order to get this completed. In order to do so, make sure
SEL is not selected and that no objects are selected.
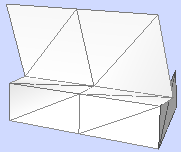
This is what good normals should look like.
Press the Back button on your browser to go back to the index.