 ZModeler Tutorial v2.0 |
 ZModeler Tutorial v2.0 |
Refining The Model
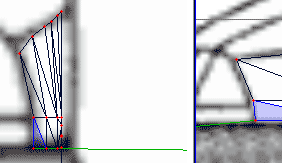
In this picture, you can see the relation between the front and side views.
In 3D view, it looks like this:
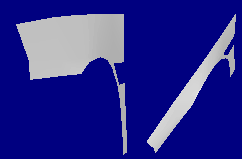
After a few minutes of modeling, I
have established a pretty smooth curve for the front end.

Note that the smoother you want your curves to be, the more rows of polygons you
should have.
After some more modeling, I have
made the door pillars.
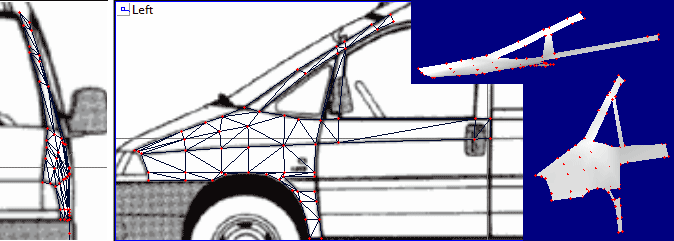
After using blueprints for awhile, you will find them easy to use.
Remember to extrude your polygons after finishing a section.
Pretty easy now?
Here's the hood section:

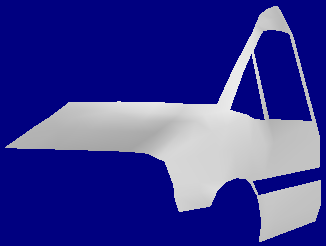
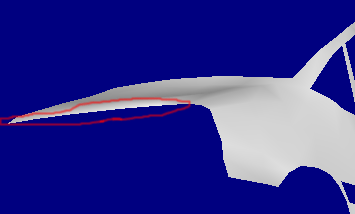
You vehicle hood should look somewhat like that. Note the space circled in
red - That's the place you can use (if you want to) to contour the curve down to
the headlights. Don't make this too sharp, or you will have normals
(shading) problems.
Now that the hood is done, let's
start on the roof:
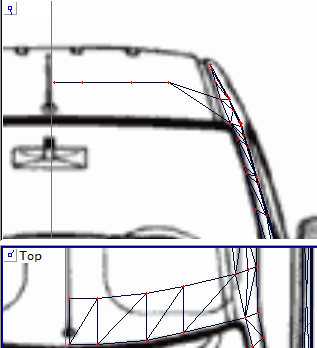
The top view looks pretty darn good, but look at the front view - something is
wrong! Select the Y axis, and drag the vertices down to the windshield
line. The black line in the top view is also in the front view. Make
sure you are dragging the correct vertice. If it looks like this:

Then select the one above it and drag it down.
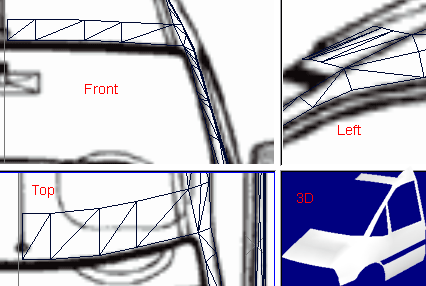
After all is said and done, it should look like this, and it even looks smooth
in the 3D view!
GO TO PART 2 of REFINING THE MODEL
Press the Back button on your browser to go back to the index.